How to Screenshot on MacBook: A Step-by-Step Guide
Introduction
Learning how to screenshot on a MacBook is a skill that can save you time and make your digital communication more effective. This guide will cover multiple methods suitable for various MacBook models, ensuring you’re well-equipped to capture anything from entire web pages to specific application windows. Let’s dive into the different ways to take screenshots on MacBook laptops.
How to Screenshot on MacBook
Using Keyboard Shortcuts
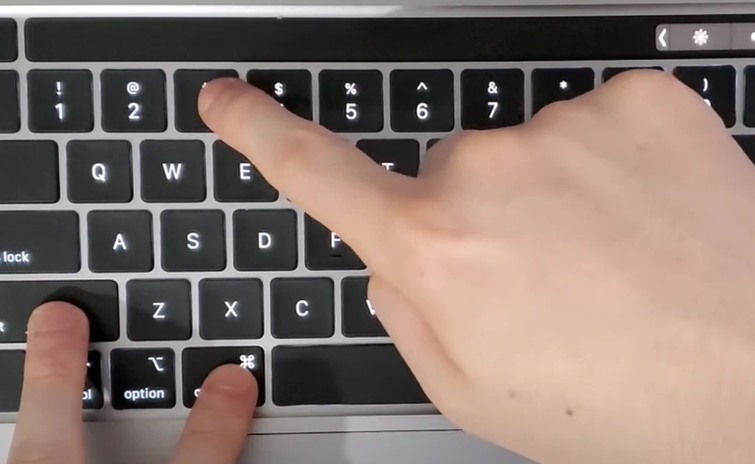
Capturing your screen using keyboard shortcuts is one of the quickest and easiest methods:
-
Capture Entire Screen: Press
Shift + Command + 3simultaneously. Your screenshot will be saved to your desktop. -
Capture Selected Portion: Press
Shift + Command + 4, then drag to select the portion you want to capture. Release the mouse button to take the screenshot. -
Capture Specific Window: Press
Shift + Command + 4, then press theSpacebar. Click on the window you want to capture.
Using the Screenshot App
MacBooks running macOS Mojave and later have a Screenshot app with additional functionalities:
-
Capture Entire Screen: Open the Screenshot app from the Applications folder or search using Spotlight. Click “Capture” to take a screenshot.
-
Capture Selected Portion: In the Screenshot app, click “Capture Selected Portion.” Drag to select the area and click “Capture.”
-
Capture Specific Window: Choose “Capture Window” in the Screenshot app. Click on the window to capture it.
How to Screenshot on MacBook Air
The process of taking screenshots on a MacBook Air is the same as on other MacBook models. Use the keyboard shortcuts or the Screenshot app as described above.
How to Screenshot on MacBook Pro
Similar to the MacBook Air, the MacBook Pro also supports the same screenshot methods. You can use keyboard shortcuts or the Screenshot app to capture your screen effortlessly.
Frequently Asked Questions (FAQs)
Can I change where the screenshots are saved?
Yes, you can. By default, screenshots are saved to your desktop. To change this, go to “Options” in the Screenshot app and choose a different location.
How do I take a screenshot of a specific menu?
To capture a menu, press Shift + Command + 4 followed by the Spacebar. Then, click on the menu to capture it.
Can I capture a screenshot without saving it?
Certainly. Pressing Control along with the other shortcuts will copy the screenshot to your clipboard instead of saving it.
Do screenshots include the cursor?
Yes, unless you press the Control key while taking the screenshot. This will exclude the cursor from the captured image.
How do I annotate a screenshot after capturing it?
Open the screenshot preview that appears briefly in the bottom corner of your screen. Click on it to open the Markup tool for annotations.
Can I set a timer for screenshots?
Yes, you can. Open the Screenshot app and click “Options.” Choose a timer delay under “Timer” before taking the screenshot.
Conclusion
Mastering how to screenshot on MacBook empowers you to visually communicate with precision and clarity. Whether you’re sharing a bug report or a hilarious meme, these methods make capturing and sharing content from your MacBook seamless. Experiment with the different techniques to find the ones that suit your workflow best.
Now that you’re equipped with the knowledge of taking screenshots on your MacBook, you’re ready to enhance your communication and productivity. Remember, mastering these skills might take a little practice, but the results will be well worth it.